
Mastering Sedona Helicopter Tour Photography
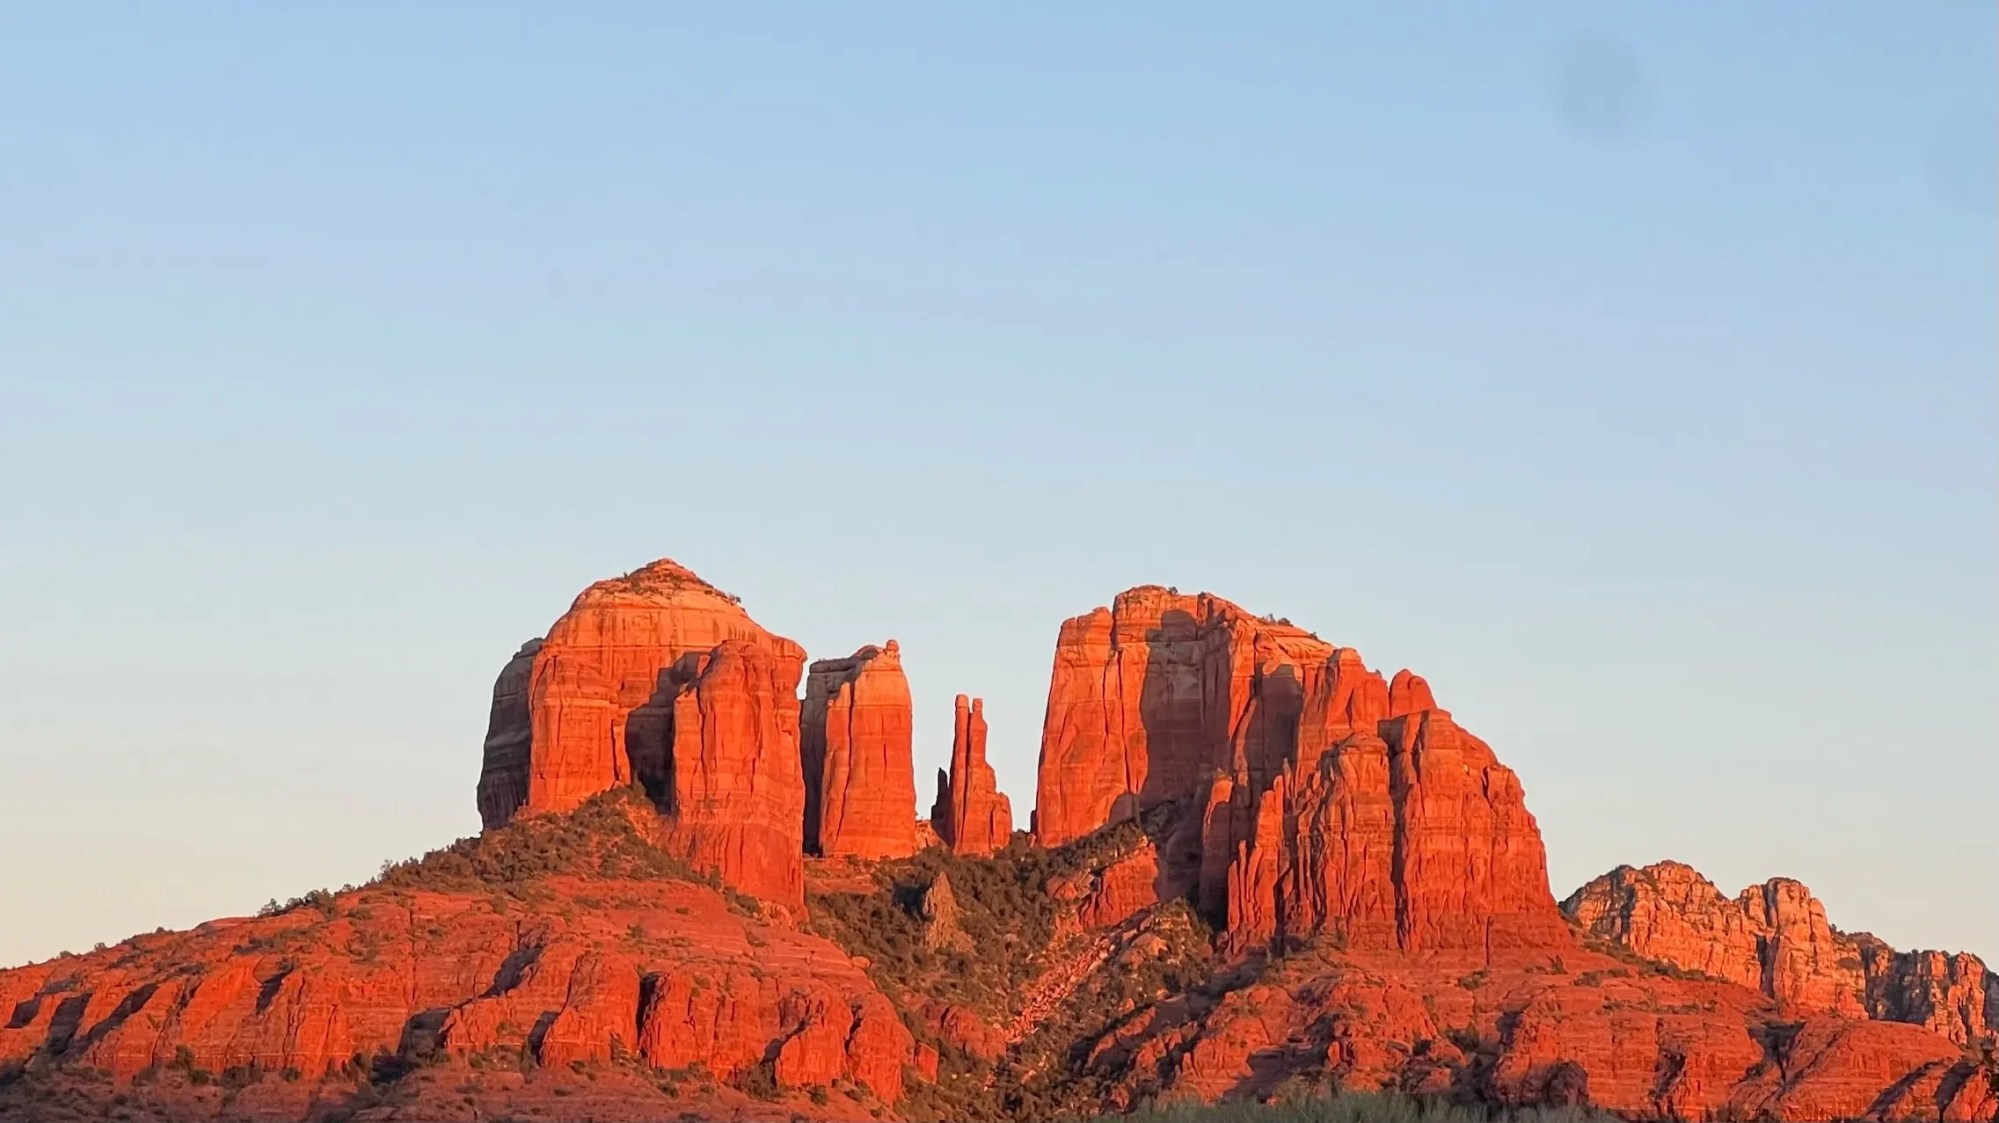
Seeing Sedona from the air changes your perspective like nothing else. On the ground, Sedona’s bold red rocks and rugged canyons are stunning, but from above, they transform into a vibrant, abstract masterpiece. Rivers twist and turn, and colors blend in unexpected ways. Booking a Sedona helicopter tour with us at Apex Air Tours is more than just a scenic ride; it’s a creative adventure that expands your view and deepens your appreciation for this incredible landscape.
If you’re preparing for a Sedona helicopter tour and want to capture aerial photos that impress, we’ve got practical tips to help turn good shots into unforgettable images. Say goodbye to common aerial photography challenges and hello to sharp, striking pictures.
Perfect Timing: Chasing Sedona’s Golden Glow
Timing is everything in aerial photography. Sedona’s red rocks come alive in the golden hours, shortly after sunrise and just before sunset. This warm, low-angle light casts a magical glow on the landscape while creating dramatic shadows that highlight the textures and contours of the terrain. The rocks seem to perform a private light show.
Flights booked in the middle of the day often suffer from washed-out colors due to harsh sunlight flattening the scene. However, partly cloudy skies can add interesting light patterns and dynamic shadows, making midday flights still worth considering. Look for moments when sunlight breaks through clouds and dances across the land.
To capture the richest colors, deepest contrasts, and most natural shadows, plan your Sedona helicopter tour during these golden hours. It’s our top tip for making your photos sing with vibrant, authentic beauty.
Gear Up Smartly: Settings and Equipment for Aerial Shots
Shooting from a helicopter means dealing with vibration and movement, so having the right gear and camera settings is crucial. A zoom lens around 24-70mm is ideal because it lets you quickly shift from sweeping panoramas to close-up details without fumbling mid-flight.
Use a shutter speed of at least 1/500th of a second to freeze motion and avoid blur. Set your aperture around f/8 in aperture priority mode for a good balance of sharpness and depth of field. Auto ISO with a ceiling between 800 and 1600 will help you manage noise while maintaining flexibility in changing light conditions.
Don’t forget to enable image stabilization on your lens or camera; this acts as a built-in steadicam, helping steady your shots. Always shoot in RAW format to give yourself maximum flexibility in post-processing, especially when adjusting difficult lighting and reflections.
Navigating Window Woes: Overcoming Glare and Reflections
One of the biggest challenges in helicopter photography is dealing with window glare, reflections, and smudges. Before takeoff, if possible, ask the crew to clean your window area. A clean pane is your first defense against unwanted reflections.
When shooting, press your lens gently against the glass to minimize the gap and reduce reflections. Avoid keeping your camera just inches from the window, as this allows reflections to sneak into your frame. Never use flash; it only bounces back and ruins your photos.
Try tilting your camera to different angles to find where glare lessens. When you book your flight with us, let us know your seating preference. We are happy to assist you in getting the side of the helicopter with the best light and views, making your photo experience smoother and safer.
Getting Creative: Composing Your Shots from 1,000 Feet
From about 1,000 feet up, Sedona’s landscape looks like an abstract puzzle of shapes and colors. Instead of just capturing rock formations, compose your shots by including winding roads or meandering rivers to lead the viewer’s eye through the image.
Play with scale by zooming in and out; contrast vast plateaus with small clusters of green trees or bright blue pools of water. Your helicopter pilot is your partner in creativity, so communicate your photo goals and explore unique angles and vantage points that are impossible to access on foot or by car.
Think of your helicopter as a flying brush that lets you paint a unique vision of Sedona’s enchanted terrain.
Soak It All In: Experience the Moment Fully
It’s tempting to keep your camera raised throughout the flight, but don’t forget to pause and take it all in with your own eyes. Feel the hum of the helicopter blades, the desert breeze, and watch how the shadows play across the landscape below. These moments will embed themselves vividly in your memory alongside the photos you capture.
A helicopter tour with us at Apex Air Tours provides stunning images and unforgettable memories. See Sedona come alive from above like never before.
Extending Your Experience: Beyond the Ride
To truly immerse yourself in the aerial beauty of Sedona, consider combining your helicopter tour with some on-the-ground exploration. After you land, take some time to visit the local art galleries or delve into Sedona’s rich history. The colors and shapes you captured from the air flow seamlessly into the textures and stories waiting for you below.
Another idea is to bring along a journal or sketchbook to jot down inspiration or try your hand at sketching some of the scenes you photographed. This practice enhances your creative connection to the landscape and leaves you with unique souvenirs beyond photographs.
Moreover, Sedona’s diverse ecosystems mean you might spot wildlife from the air. Keep an eye out for graceful deer, soaring hawks, or even the occasional bobcat. These sightings make your tour not just about the rocks, but about the living, breathing environment surrounding them.
For those interested in videography, consider adding drone footage outside of the restricted airspace to complement your helicopter shots. Piecing together these perspectives can create a dynamic visual story that captures Sedona’s magic from every angle.
Preparing for Your Tour: Practical Tips to Maximize Comfort and Success
While photography gear is vital, don’t forget about your own comfort during the flight. Dress in layers since temperatures can fluctuate between the ground and sky, and the helicopter’s breeze can be brisk. Sunglasses are essential to reduce glare when looking out, and a hat can help shield your eyes from the sun when off the helicopter.
Hydrate well before your flight so you stay sharp and energized throughout the adventure. If you’re prone to motion sickness, consider taking preventative medication after consulting your doctor, as smooth flights make for better photos and a more enjoyable experience.
Charge all your camera batteries beforehand and bring extras if you can. Memory cards can fill up quickly when shooting in RAW format, so having spares avoids frustrating interruptions. Also, pack a microfiber cloth for quick lens and window cleaning during the tour to maintain crystal-clear shots.
FAQs About Sedona Helicopter Tour Photography
- What camera gear is best for helicopter photography?
A DSLR or mirrorless camera paired with a zoom lens around 24-70mm and image stabilization is ideal for capturing smooth, sharp aerial shots. - When is the best time of day to photograph Sedona from the sky?
The golden hours, early morning just after sunrise and late afternoon just before sunset, offer the best natural light and vibrant colors. - How can I reduce glare and reflections on helicopter windows?
Press your lens gently against the glass, avoid using flash, request window cleaning if possible, and tilt your camera to find angles with less glare. - Are helicopter rides stable enough for quality photos?
Yes. We operate modern helicopters designed for smooth flights. Using fast shutter speeds and image stabilization further reduces blur. - Can I fly my drone during my Sedona helicopter tour?
No. Drone flights are restricted within Sedona’s airspace. A helicopter tour is the safest and most spectacular way to enjoy aerial views.
We look forward to helping you see Sedona like never before. Pack your camera and your sense of adventure; it’s time to embrace a new perspective on one of Arizona’s most stunning landscapes.